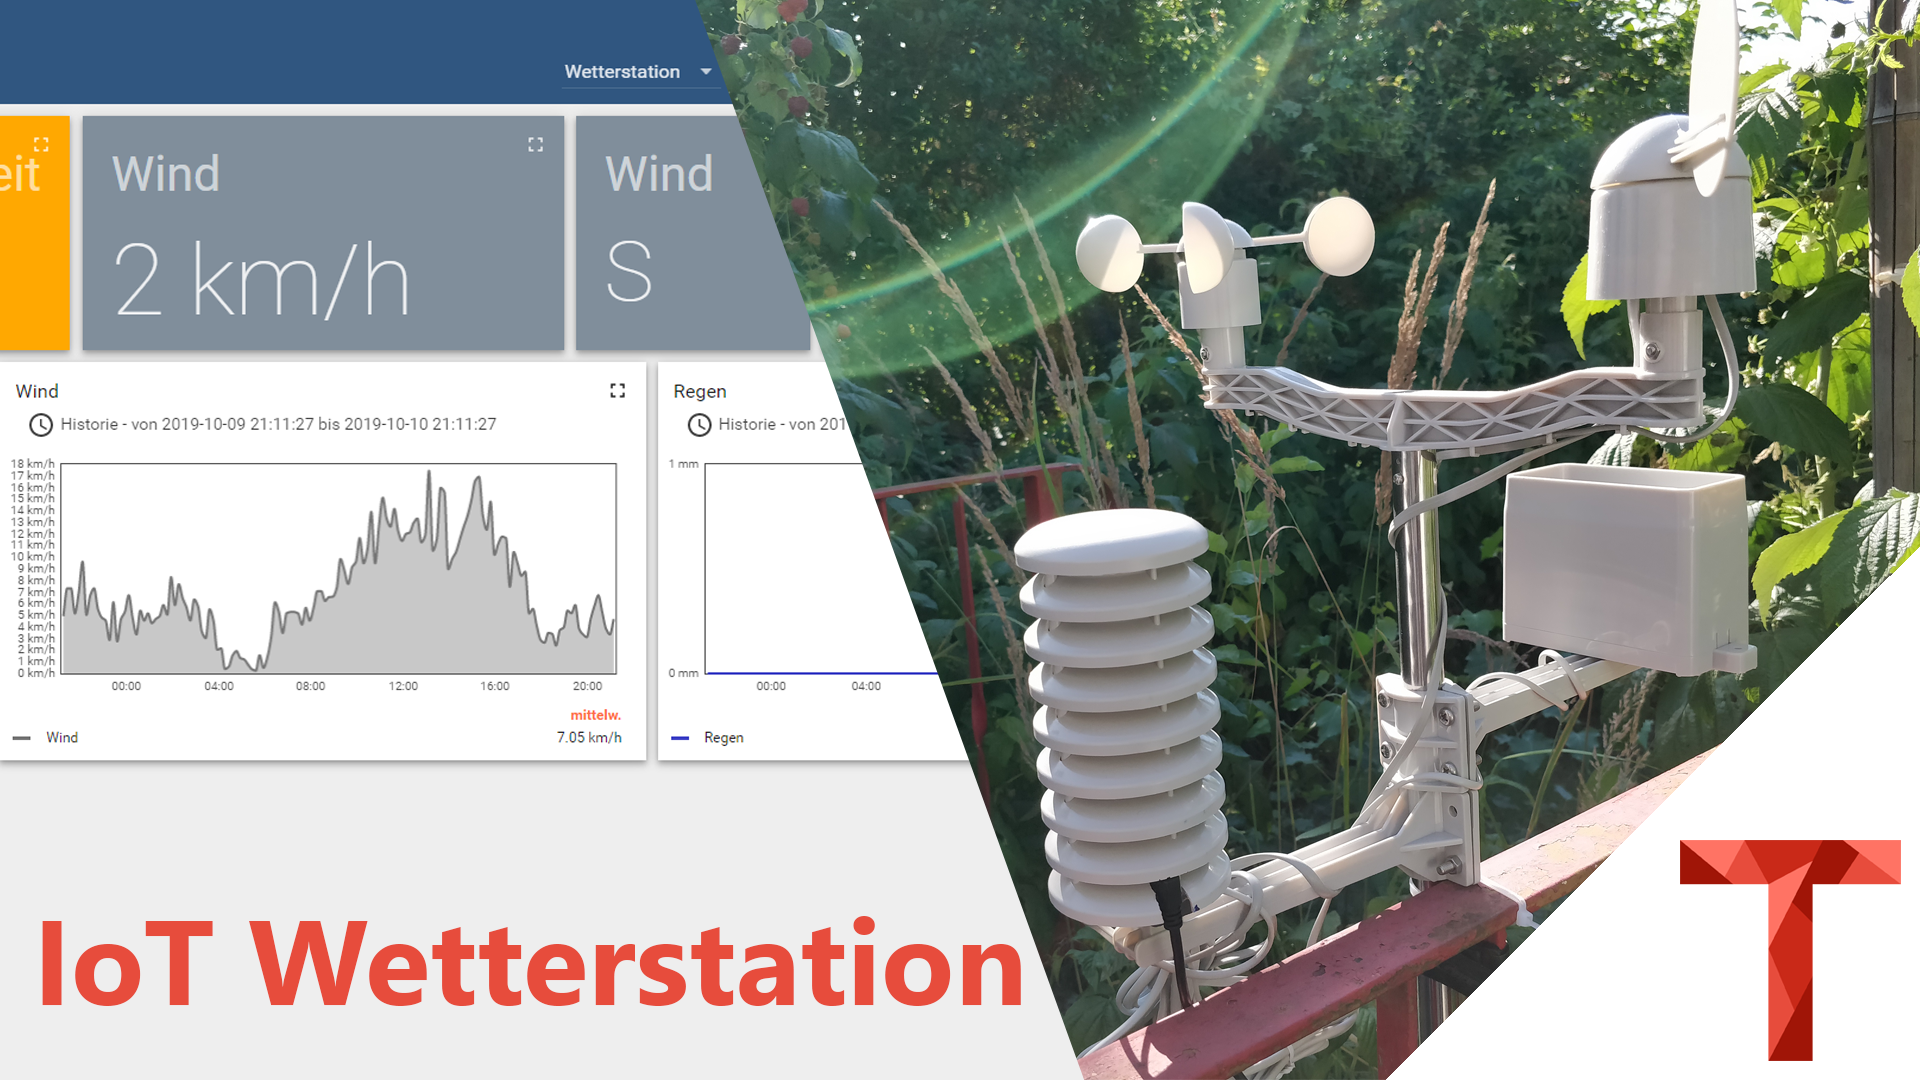
ESP8266 Weather Station - with Wind and Rain Sensors
I don't know you, but i like to look at statistics from some local weatherstations around my area. Only Problem is that most of them don't have nice graphs and also don't give the raw data to process on your own. Looking at some commercial Options, i quickly realized that they are just to expensive for me.
So i wanted to Build my own Weatherstation that also has Rain and Wind Sensors on it. It would also need to somehow connect to my Network so i can access the Data from it easily and it should not be to expensive of course.
First thing i found in the DIY Space after a quick Online Search was the Weatherstation froM Sparkfun. It was perfect i thought at first, but the Weather Sensor pack seems to be not Available anymore, the Hardware used is quite complicated and old and with 250$ not really cheap either.
So i Build myself a cheaper and better Version :)
I liked the Sensor collection tho, so i searched the OEM number (MS-WH-SP-WS02), found it on Aliexpress and ordered it from China for 70€ including Shipping. After Two weeks i got my package and started hacking into the connections and building a replacement for the included Controller. I Replaced it with a Wemos D1 Mini and a a DHT22 Temperature Sensor (had a DHT22 laying around, works okay so far, maybe repalced by a better one in the future). I made a 3D Printable Case that replaces the normal Controller and fits to the Sun Shielding.
You can find the STL on Thingiverse.
The short Programm i made for the ESP8266 reads all sensors and sends the Data over Wifi to a Thingsboard Server defind in the Arduino sketch with MQTT. You can Download it from the following gitlab Link: Gitlab - 8266 Thingsboard Weatherstation
Features
- measure Temperature
- measure Humidity
- measure Wind direction
- measure Wind Speed
- measure Rain
- Connect to Wifi
- Send Data with MQTT
What you need
- Wemos D1 mini (or a similar ESP8266)
- DHT22 Sensor
- MS-WH-SP-WS02 Weather Station (Similar to Sparkfun SEN-08942)
- 3D Printed Part (Thingiverse)
- Some basic tools
- Soldering stuff and a bit of cable
- 10k Ohm Resistor
- Thingsboard Instance (Thingsboard Installation)
- Arduino Sketch (Gitlab)
Here is a short Video Showing how to assemble everything with English subtitles.
How to Build
Step 1:
Connect everything to the Wemos D1 mini According to the Schematic below. See the Weathermeter Details spec sheet if you need more information: Weatherstation Datasheet
Step 2:
Open the Arduino Sketch, change the Wifi and Thingsboard configuration to your settings. To get the Token, create a new device in Thinsgboard and click "Copy Token" as shown in the Video. Then Flash it to your Wemos D1 mini and check if all works in the Serial Monitor and the Telemetry tab in Thingsboard on the Device.
Step 3:
If all Works, glue the Wemos + DHT22 into the 3D printed Case (i used Hotglue) and stick the Suncover over it.
Step 4:
Assemble the rest of the Weather Station, put it outside and connect the Wemos D1 mini over microusb to a 5v powersupply. If you need help putting it together: Sparkfuns Assembly Guide

{{ 'Comments (%count%)' | trans {count:count} }}
{{ 'Comments are closed.' | trans }}